Knowing the angle before you drop in
An open, fresh-snow slope can look perfect and still sit squarely in the angle range where most slab avalanches start.
The problem
It's easy to judge a slope by how it looks — open, inviting, good snow — and never register the angle. Most slab avalanches release on slopes between 30° and 45°, a range that includes plenty of terrain that looks completely rideable.
Why it happens
The Avalanche Slope layer bands terrain from the elevation model's slope angle, centered on the critical range: 30–35°, 35–40°, 40–45°, 45–50°, and 50°+. Live mode adds a cross-check against today's bulletin.
How to check it in First Chair
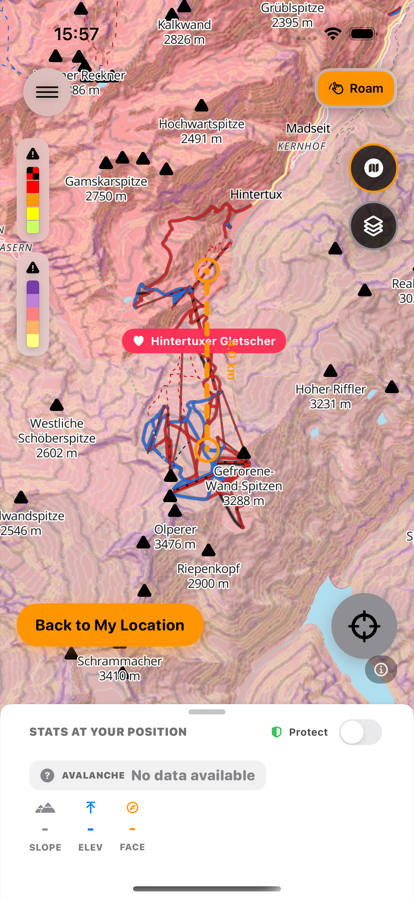
Map layer
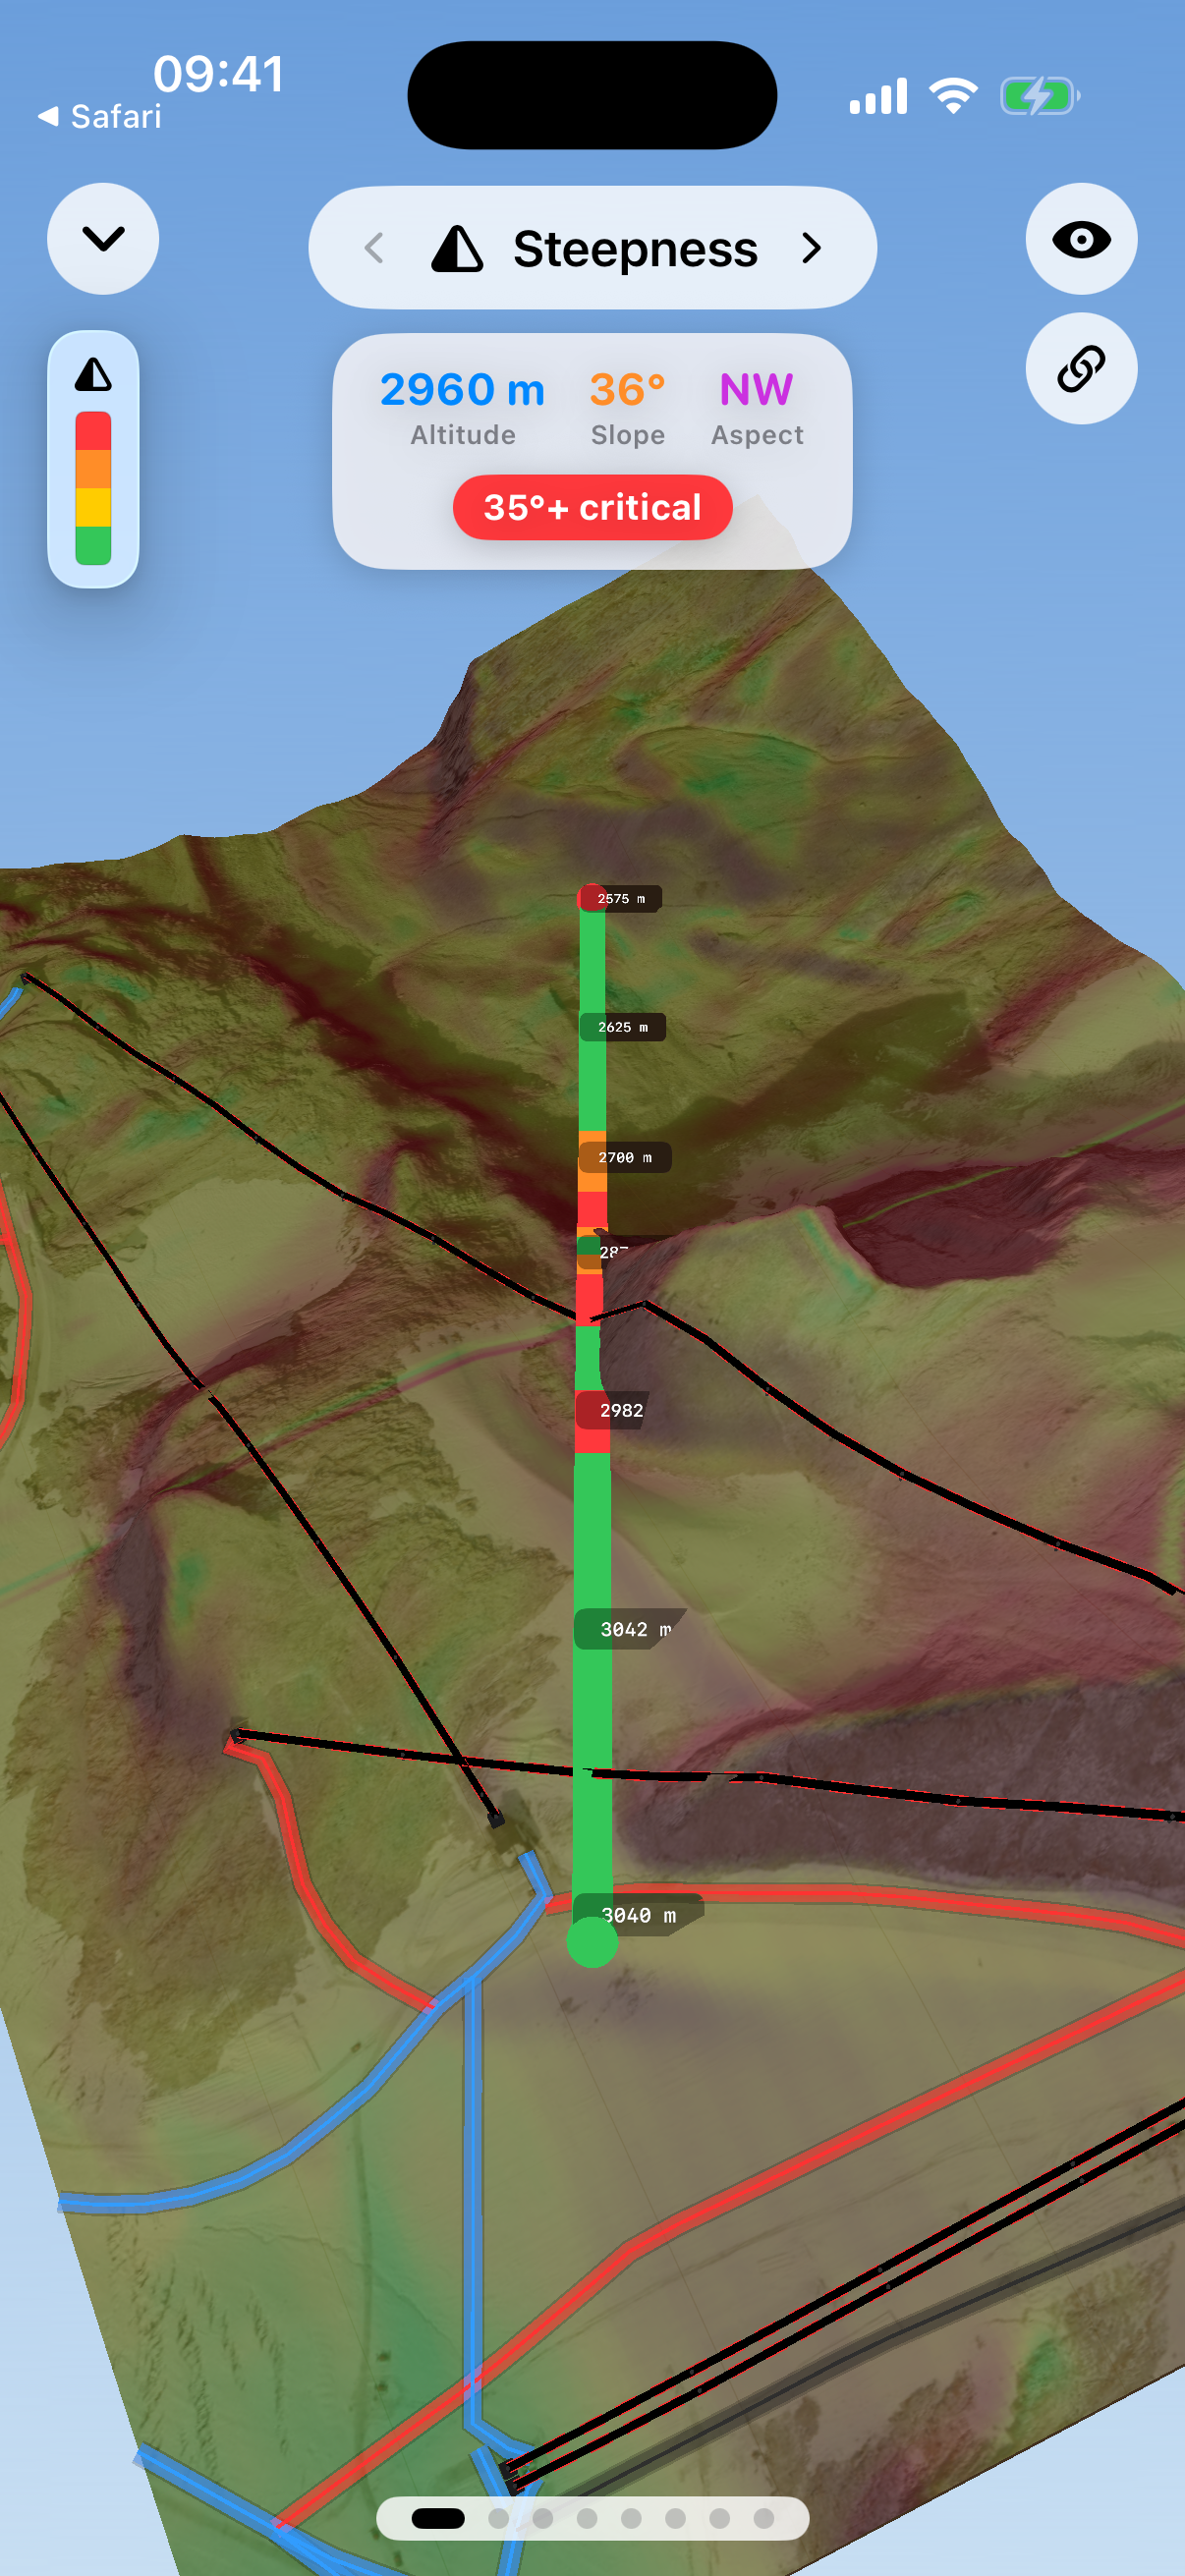
Hold to read the exact angle
-
Turn on Avalanche Slope before picking a line
It bands terrain by exactly the angle window most slab avalanches start in.
-
See where your run actually falls
Check the bands against your intended line, not just how the slope looks from the lift or the base.
-
Point the lens at the slope ahead
In Shoot/Compass mode, the same angle bands are drawn directly over the real terrain. Hold and drag your finger along the line to read the exact altitude, slope angle, and aspect at any point.
-
Use it as a prompt, not a verdict
A slope in the flagged range deserves the bulletin, your training, and a second look — not an assumption either way.
Free to download · iPhone & Apple Watch
Download on the App Store