Spotting cliffs before you commit to a line
From above, a convex roll can hide exactly where the terrain breaks away. The cliff layer marks that break before you're already over it.
The problem
Unfamiliar or convex terrain is hard to read from a distance — a slope that looks like a smooth roll from above can end in a drop you don't see until you're on top of it.
Why it happens
The Cliff / No-Fall layer is computed directly from the elevation model's slope angle: 50–60° is flagged as steep, no-fall terrain, and 60°+ as an outright cliff.
How to check it in First Chair
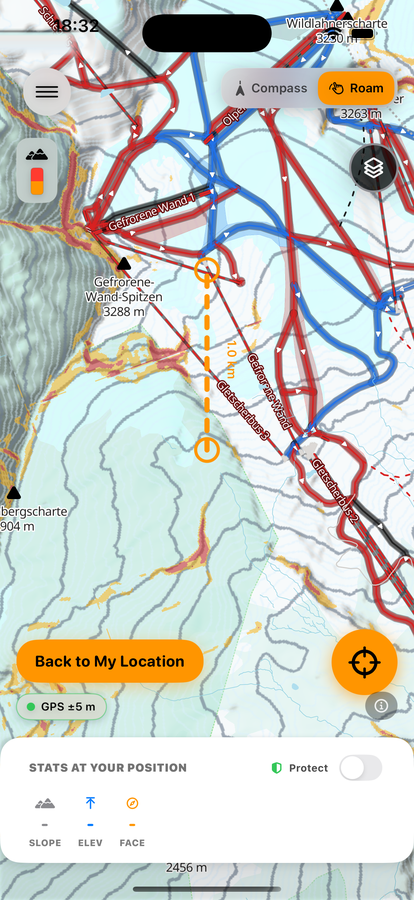
Map layer
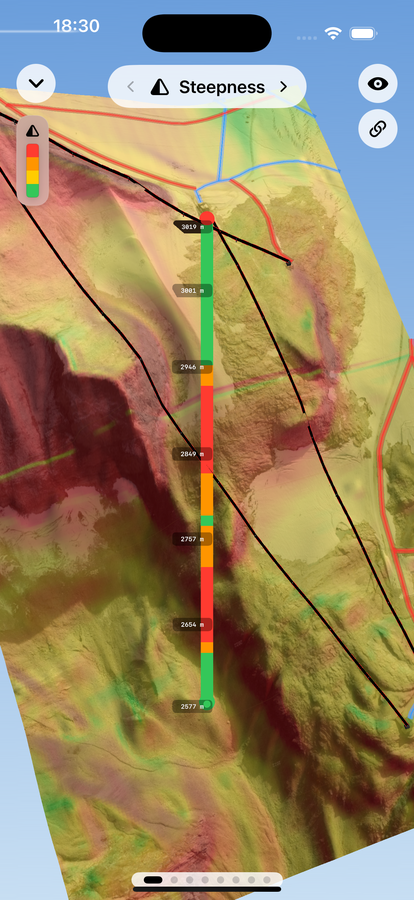
Shot line, Steepness lens
-
Turn on the Cliff layer
Switch it on before dropping into terrain you don't know well.
-
Look along your intended line
Anything flagged is steep enough that a fall has real consequences, not just an inconvenient one.
-
Point the lens at the slope ahead
In Shoot/Compass mode, the cliff markings overlay directly on the real terrain in your camera view, so you can read the break before you're on it.
-
Treat flagged terrain as a stopping point
Stop and look from there, rather than guessing and continuing.
Free to download · iPhone & Apple Watch
Download on the App Store